


Table of contents
With Xojo Web 2, it becomes relatively easy to set up a Server and run your first App. You would not even need your own webserver as a Xojo Web 2 App has built-in its own. But in today’s world, running a Web app is one thing; running it securely is a different story. This beginner’s guide aims to enable you to run your first App in no time.
What we will achieve in this tutorial:
Building a Linux Server from scratch (Ubuntu 20.04 LTS)
Connecting your domain to the server
Installing all prerequisites for Xojo Web App on the Ubuntu Linux Server
Installing a postgreSQL DB (for future use)
Installing your Xojo Web App
Automation of the server such that your app will restart automatically in case it quits for whatsoever reason.
Building our own Linux Server
There are many ways how you can set up your server. I’m using upcloud.com for this tutorial, but it pretty much works the same way with digitalocean.com. I’m a fan of upcloud.com, as their IaaS is very fast, especially for their storage:
Creating our first server
Account first! Of course, you have to register at upcloud.com I leave you alone with this task. Once you are logged in, we can now create our first own server:

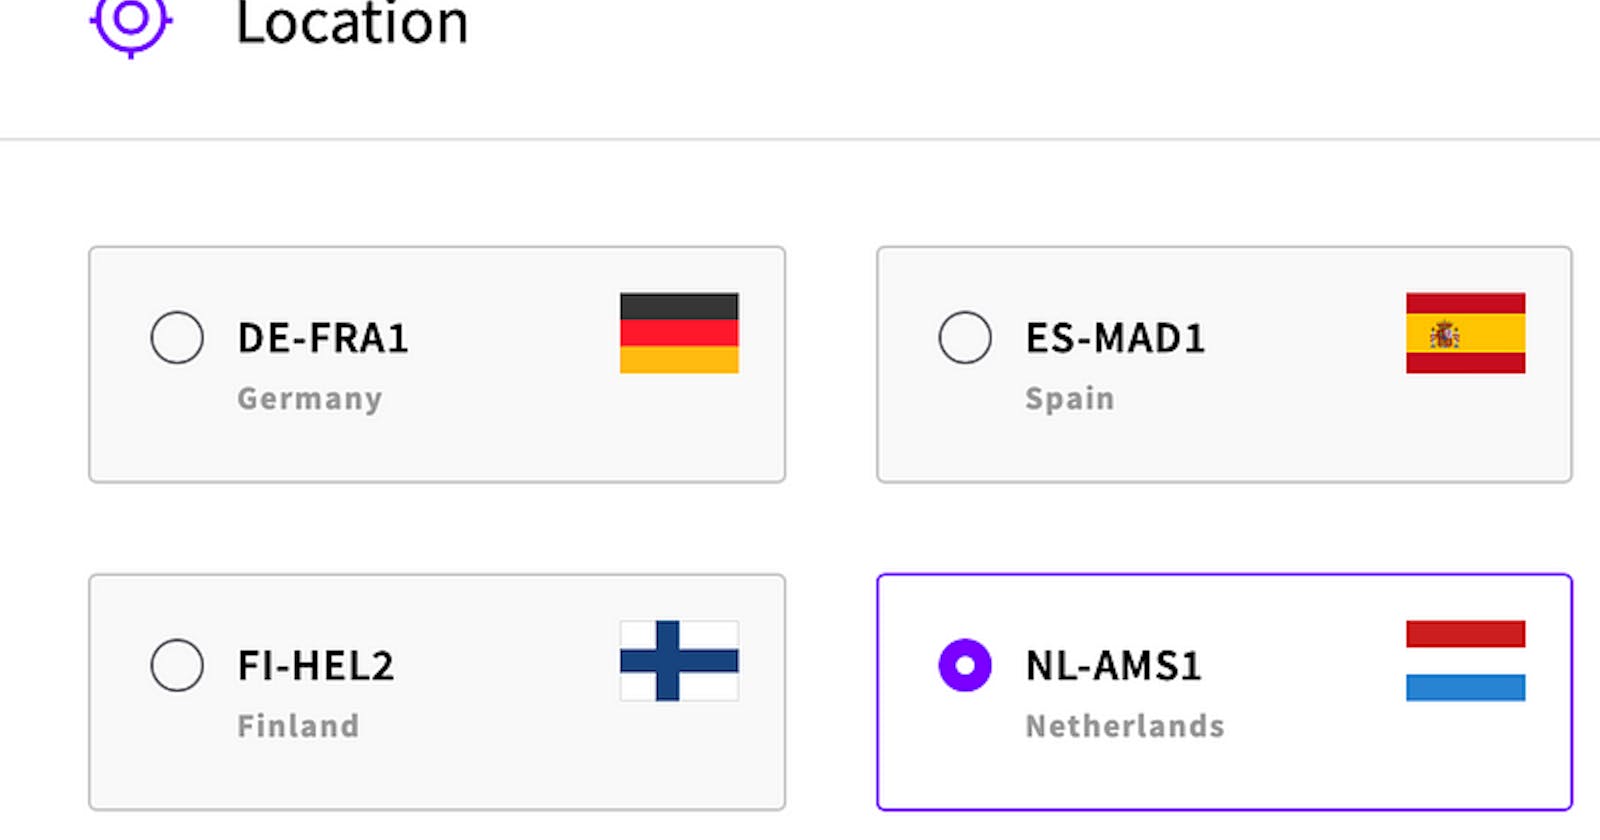
I’m choosing a server in The Netherlands for no particular reason.
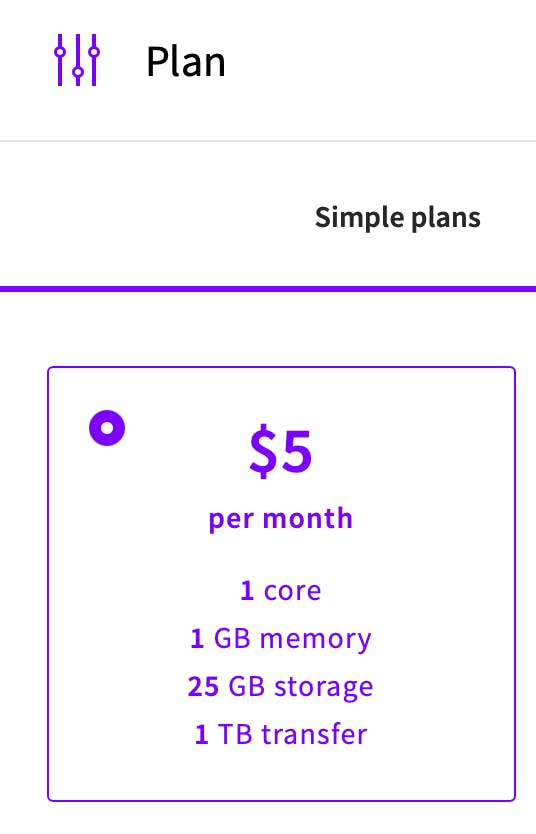
I’m choosing the cheapest plan.
I do rename the storage to something which I’ll better recognize in future because you can later attach this storage to a different server, so I want to remember what this storage is indented to be used for.

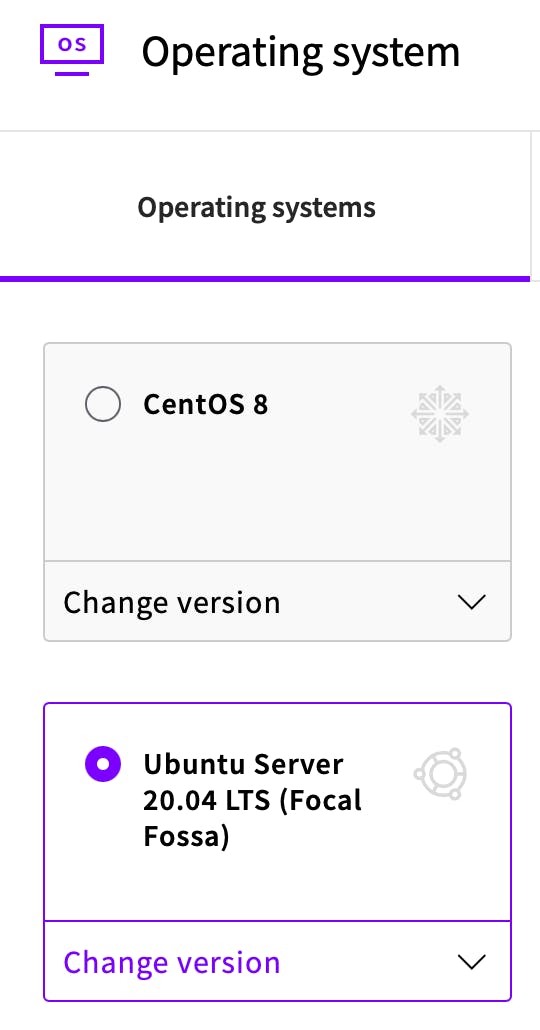
For the server, I’m using an Ubuntu Server 20.04 LTS. A version with Long Time Support is the right approach, as we want in future to concentrate on Xojo development and not become the next Linux superstar.
Now it is time to open your public key in a text editor. If you can’t remember this the key (with the extension .pub, which we created in the following tutorial:
Your screen should now look like this:

I recommend that you change the hostname to something short but descriptive. Upcloud will pass this value over to Ubuntu during the installation, so you will regret it later using special characters in this name and making it very long.
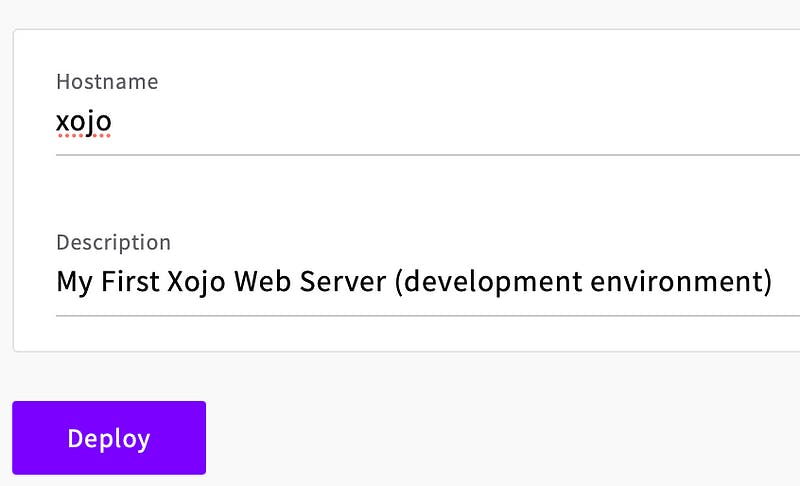
Okay, here we go. Now hit “Deploy” and let upcloud.com do the magic!
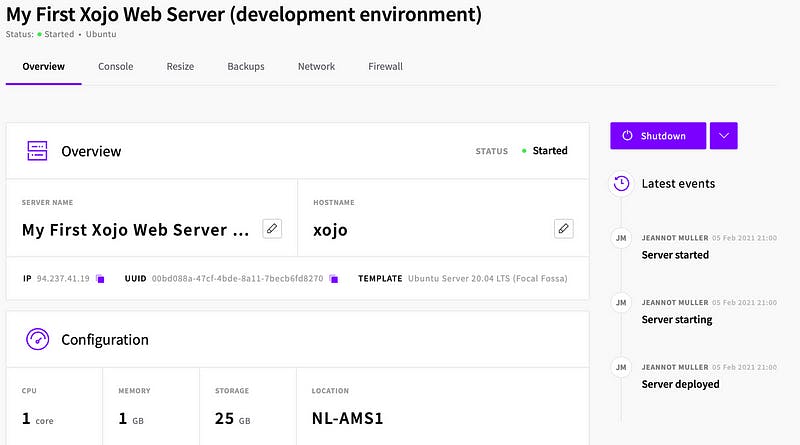
22 seconds in my case to not only deploy the server but to start it. Impressive, isn’t it?
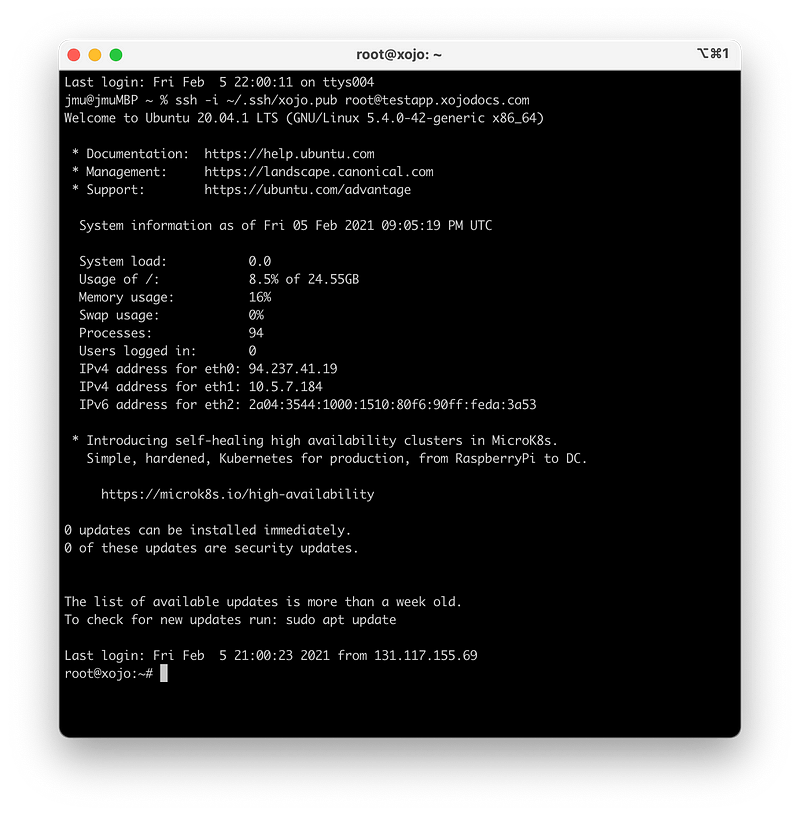
In the overview, we can see the IP upcloud.com addressed to our new instance.
In my case, it is: 94.237.41.19 (in the rest of this tutorial, you will of course have to replace my IP with yours!). Sounds silly, but you can easily forget this.
Now let’s launch our terminal window and start with the real fun! The user is of course root and we are now typing:
ssh root@94.237.41.19
The server will ask you to accept the fingerprint (this is only asked once, per client you are trying to connect). Just confirm with yes.
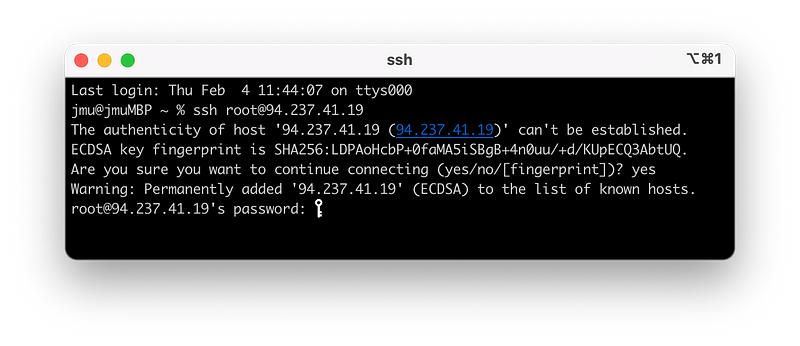
But hold on, why is my server asking for a password? We did create an SSH key to avoid this, right? Well in the case you only have created one SSH key, you will probably already be connected. If you have multiple keys on your system (like I do), you have to specify which key to use.
Let’s do the following in a new(!) terminal window:
ssh -i xojo root@94.237.41.19
Et volià, either way, you will now be connected!
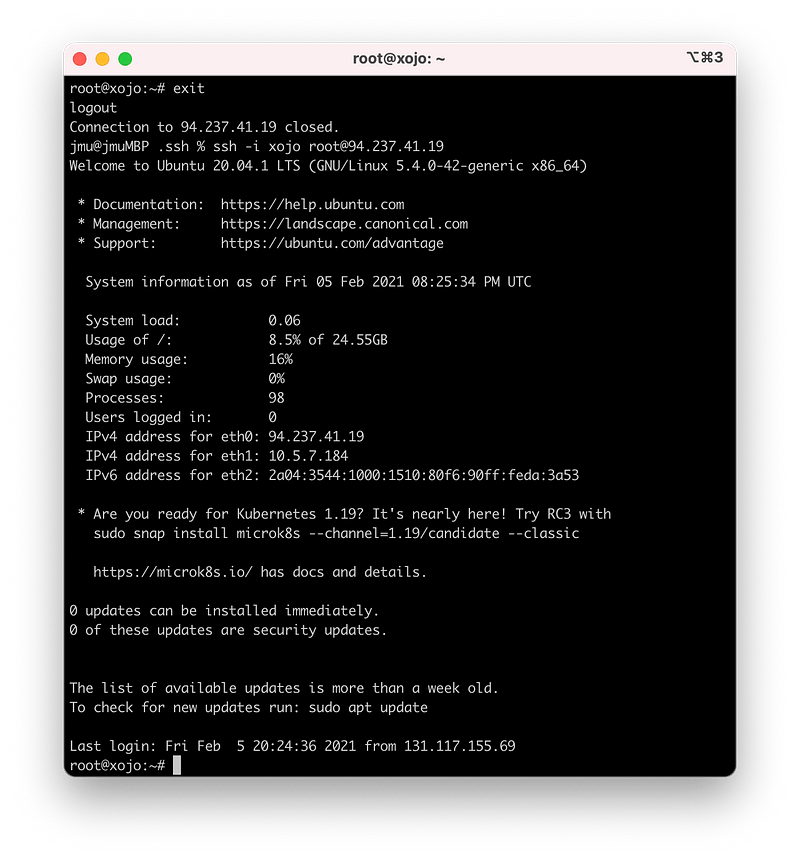
Congratulations! Well done so far.
Connecting your domain to the server
Now is a good moment to connect a domain to your server. Good moment, because this can take some time in case you buy a new domain. I am just using a subdomain for this purpose:

Subdomains are created fast, as the DNS Servers already know the root domain.
Now you need to point the A/AAAA record to your new IP. In my case IP 94.237.41.19. Your final result should somehow look like this.

Let’s try to connect now:
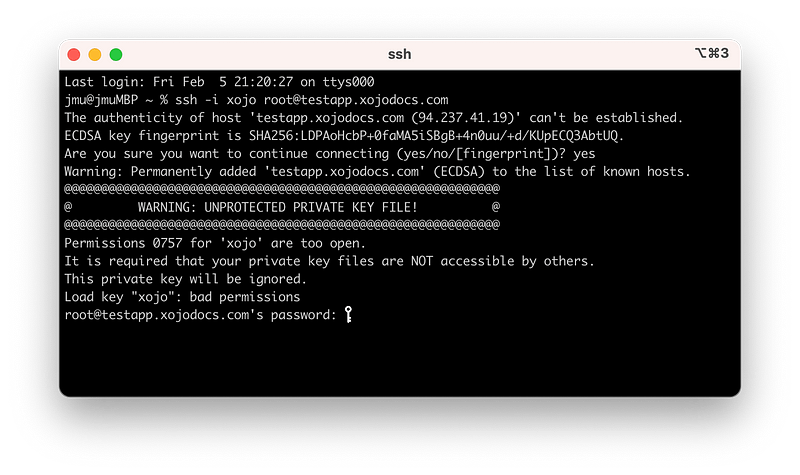
Big drama! What is happening now? Well, the permission is wrong. A simple correction will solve this issue:
chmod 400 ~/.ssh/xojo chmod 400 ~/.ssh/xojo.pub chmod 755 ~/.ssh
If you are running a macOS higher than 10.12.2, it might again not work once you close your terminal window and you are trying the connection again. In this case, you have to do the following:
ssh-add ~/.ssh/xojo
You can check with
if your key was successfully added to your ssh-agent. In my case, everything is working now. This kind of issue are due to Apple changing the OpenSSH implementation all the time.
Again, most users will only have one certificate and will not run into the above issues, and they can connect directly via
ssh root@testapp.yourdomain.com
Ok, now that we have our Linux machine and connect as root via our certificate and our domain to the server, let’s party and install all our prerequisites for Xojo Web App 2.
Installing all prerequisites for Xojo Web App on our Ubuntu Linux Server
Whatever you are planning to do now, you probably saw already that there are outstanding updates, please do nothing but the following. Create a new user(!) and don’t even think of continuing to work with root!
sudo useradd -s /bin/bash -d /home/xojo/ -m -G sudo xojo sudo passwd xojo
The above commands will create as user xojo, give it sudo permission and define a password for our new user xojo.
Now we need to copy the public part of our key (xojo.pub) to the home folder of our new user “xojo”.
sudo mkdir /home/xojo/.ssh sudo chmod 0700 /home/xojo/.ssh/ sudo -- sh -c "echo 'YOUR FULL PUBLIC KEY!' > /home/xojo/.ssh/authorized_keys" sudo chown -R xojo:xojo /home/xojo/.ssh/
Now you need an “editor”. You can use whatever you want. I’m using vim (which is installed already). If this is not the case, just install it with:
sudo apt-get install vim
I know “sudo” is obsolete, as we are still working as root, but let’s change this now:
With your editor of choice, change the following file:
sudo vi /etc/ssh/sshd_config
Ensure that the following settings are changed in the file:
PermitRootLogin no PasswordAuthentication no PermitEmptyPasswords no PubkeyAuthentication yes ChallengeResponseAuthentication no UsePAM yes
Don’t forget to uncomment (delete the # sign) left to PubkeyAuthentication!
If you are sure that everything is right, restart the SSH-Server, exit, pray, and try to reconnect.
sudo service ssh restart
Now you can connect to your server via
ssh xojo@yourdomain
Any access via passwords or root@yourdomain is now blocked!
Now I have some good news for you. If you have made it to this point, you have achieved the most difficult part! It might happen that you are locking yourself out of the system if you are making mistakes in the above changes. In the worst case, just delete your server, and remember that it took you only a few seconds to create a new one!
So now that we entered the party, let’s have some real fun.
First of all, we should now update our system. Don’t forget the sudo prefix from now on, as otherwise, you will be a nobody, without the necessary permissions!
sudo apt update && sudo apt upgrade
And now let’s install a few packages:
nginx — a webserver, which we will use as a reverse proxy to combine the outside world with the xojo web app
postgresql — a database, for future use
- that’s a naughty little tool, blocking the system if there are too many wrong logins (should not happen to you now, as you are using a certificate). If it happens, you will be blocked for one hour (unless you are rebooting the machine). I wrote my own article on how to configure fail2ban.
ufw — a simple, but effective firewall
sudo apt install nginx postgresql postgresql-contrib fail2ban ufw
and 1 more tool:
sudo apt install certbot python3-certbot-nginx
If you are an American, you are done now. But if you speak more languages, you most likely want to install your locale as well — for instance in Germany you would do the following:
sudo locale-gen "de_DE.UTF-8"
After all these updates, it is now a good moment to do something you normally don’t need to do on Linux, rebooting the system:
sudo shutdown -r 0
Setting up postgreSQL
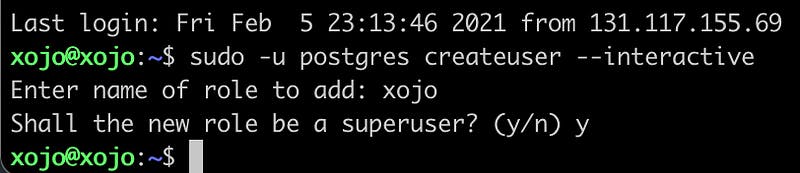
First, we are creating a user:
sudo -u postgres createuser --interactive
As a Postgres user needs to have its database, let’s create that one as well
sudo -u postgres createdb xojo
Now our local connection to postgres with the postgres user xojo should work
sudo -u xojo psql
It does for me, lucky me.

Now, we will create a database called “xojodb”.
CREATE DATABASE "xojodb" WITH OWNER "xojo" ENCODING 'UTF8' TEMPLATE template0;
As we are the future rocking Xojo stars, let’s grant us full access:
GRANT ALL PRIVILEGES ON DATABASE xojodb TO xojo;
with
We can now list our databases:

use
to quit postgres. Done!
Setting up our firewall
By the way: you remember that we installed fail2ban. You can search on the internet for fine-tuning, but there is nothing special we need to about it, other than installing it. It will activate itself automatically during the installation. It was even written there, but who is reading stuff like that?
sudo ufw allow ssh sudo ufw allow http sudo ufw allow https
Installing a Webpage
I like to first check if a normal webpage will work before I’m playing around with Xojo Web 2 (or any other tool / app). Ubuntu likes to see webpages under /var/www/html/ . So let’s create there a home for our future first Xojo Web App 2:
sudo mkdir /var/www/html/xojo sudo chmod 755 -R /var/www/html/xojo sudo chown xojo:xojo -R /var/www/html/xojo
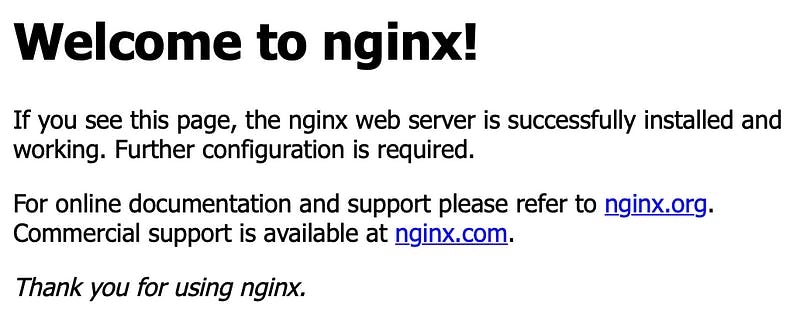
On a side note, latest after your reboot, your web server should already work and it will show you the standard page of Nginx under your linked domain. So in my case, testapp.xojodocs.com is currently showing this:
Now we need to tell nginx, that it should look in our new folder, rather than in the root of /var/www/html/

Of course, I can not explain all details of Nginx in this article, so trust me that we first have to create a config file for our xojo domain, in my case: testapp.xojodocs.com:
sudo vi /etc/nginx/sites-available/xojo
You can use any other editor you like. It is only important to create exactly that file mentioned above and (!) to copy the following content into it:
server { listen 80; listen [::]:80; root /var/www/html/xojo; index index.html; server_name testapp.xojodocs.com; location / { try_files $uri $uri/ =404; } }
Please note: as with SQL it is important in Nginx configuration files to end each line with a semi-colon;
So what is the above doing? It is basically telling Nginx to listen on port 80 for any connection claiming to be testapp.xojodocs.com and to forward this request to the folder /var/www/html/xojo. The first file to automatically open is index.html. If that file or the folder doesn’t exist … big drama, raise an error 404.
Now, we have a big drama, as we are missing an index.html file. So let’s do this right now:
sudo vi /var/www/html/xojo/index.html
Type the following content into the file and save it:
Now we need to enable our xojo section in Nginx, this is done with a symbolic link, and only needs to be done once (as it is a symbolic link):
sudo ln -s /etc/nginx/sites-available/xojo /etc/nginx/sites-enabled/
And now we need to restart our Nginx service, but let’s test it before. This is done via:
sudo nginx -t
If you see the following, then you are good to restart your server, otherwise have a nap and look for your mistake(s):

Restarting the Nginx server:
sudo /etc/init.d/nginx restart
Now let’s check in our web browser what testapp.xojodocs.com is showing:

Okay, no surprise here: it is an insecure side, it looks awful (as we don’t use any HTML in our index.html file) but it is working! Well done!
You might be wondering, why I’ve chosen to first install a “normal” page. Well, we will now add a secure certificate and this is very simple, as long as you have a simple configuration file. All we need to do is:
sudo certbot --nginx -d testapp.xojodocs.com
Answer all the questions as you want but ensure to choose ‘2’ on the last one:

Now we need to restart our Nginx server and look at the results:
sudo /etc/init.d/nginx restart
Et voilà, caramba, we have a secure webpage:
SFTP
For getting our app on the server, we need a transfer program. I can recommend Transmit, but any other app will work as well. The charm of connecting via certificates is that it’s now a breeze to connect securely to such a program oo. No need to install an SFTP server etc. all you need to do is configure the Transmit app.

That was easy, wasn’t it?
Deploying the Xojo Test App
http://docs.xojo.com/UserGuide:Web_App_Deployment_Overview
Xojo is offering a test Xojo Web App, so that you don’t need to buy a license if you do not know yet if you will ever be able to maintain it:
http://cdn.xojo.com/Documentation/TestWebApp/StandaloneDeploy64bit.zip
Please ensure to download the 64-bit version and please note that it is compiled to use port 8080.
If you are compiling your apps (which means that you are already a customer), you can specify your port, for instance, 9001.
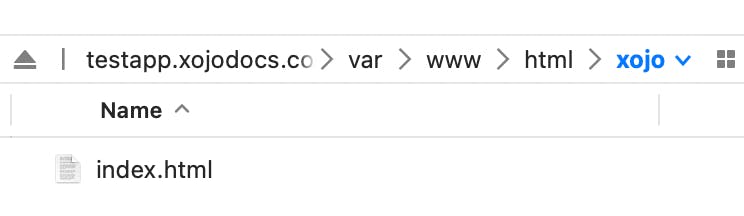
Now let’s unzip the package and upload all files to our remote xojo folder under /var/www/html/xojo:
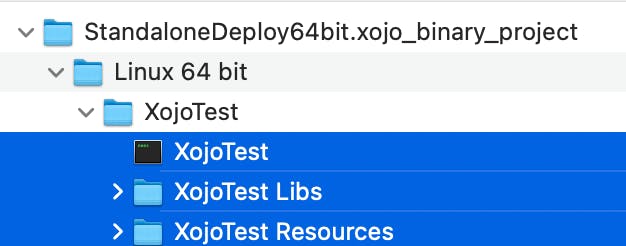
To be clear the files marked in blue (or any other colour, in case you are colourblind) need to be moved!

This will take longer than setting up the whole Linux server, but let’s not got into that :-). Let’s not get off-topic, by the end of the day or whatsoever it should look like this:
Okay, now we need to get rid of the index.html (there it goes our beautiful webpage), as we are now ready for the Xojo Web App World (well close to it):
sudo rm /var/www/html/xojo/index.html
I’m sure that you now eagerly tried a refresh your webpage. As this didn’t work, you restarted Nginx, but it is still not working. So let’s continue:
First of all, we need to make the main File executable:
sudo chmod 755 /var/www/html/xojo/XojoTest
Now change your directory to this folder:
cd /var/www/html/xojo/
And execute from that location(!!) the app in your terminal:

Hurray! If everything went OK, you will see a running app in your terminal
Depending on the browser you are using, you might see, or might not see your app under http://testapp.xojodocs.com:8080 . Usually Safari is working, but all the other browsers are not.
Please remember again that you have to replace testapp.xojodocs.com by your domain! Everywhere in this tutorial!
We are close to victory! Bear with me.
Finetuning Nginx
Now back to Nginx. Remember that I said that we are using Nginx as a reverse proxy. One reason (of many) is that you don’t want to give your customers a URL with a port number, right? So Nginx should do this for us. So let’s go back to our Nginx configuration file:
sudo vi /etc/nginx/sites-available/xojo
Oh, you can’t type, because your Xojo Web App is still running. You can use the letter ‘c’ to stop your app.
Now you have to be very careful to replace the right stuff.
This paragraph:
location / { try_files $uri $uri/ =404; }
needs to be replaced by:
location / { proxy_set_header X-Forwarded-For $proxy_add_x_forwarded_for; proxy_set_header X-Forwarded-Proto $scheme; proxy_set_header X-Real-IP $remote_addr; proxy_set_header Host $http_host; proxy_pass http://127.0.0.1:8080; }
Note the last line. This Xojo App is compiled for port 8080. You need to replace in future this port whatsoever, if you have compiled your app to use a different port! Please don’t forget that little “detail”. NEVER!
This little change is telling Nginx that it should pick up any request coming via our domain and forward it to the Xojo Web App Server listening on 127.0.0.1 (which is the local host) listening on port 8080.
Ok, now let’s restart Nginx, go into our xojo folder and restart our app:
sudo /etc/init.d/nginx restart ./XojoTest

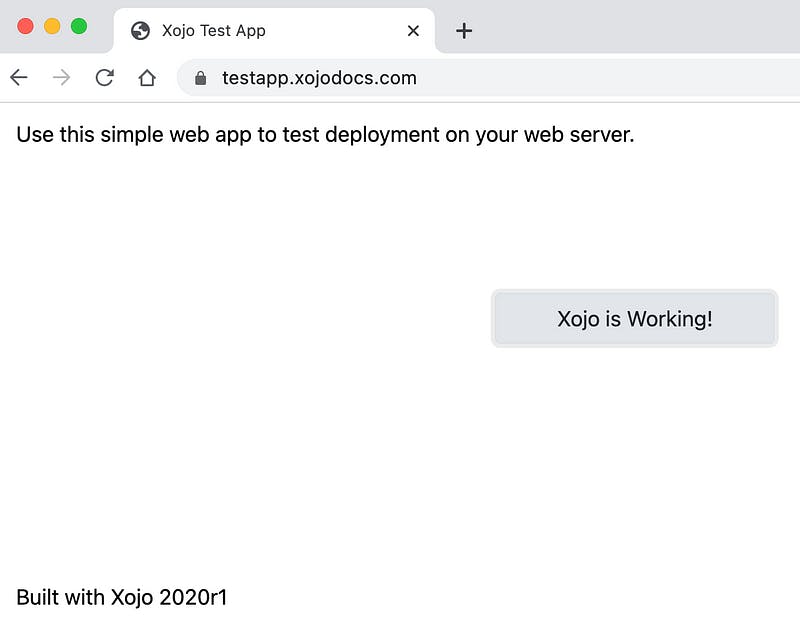
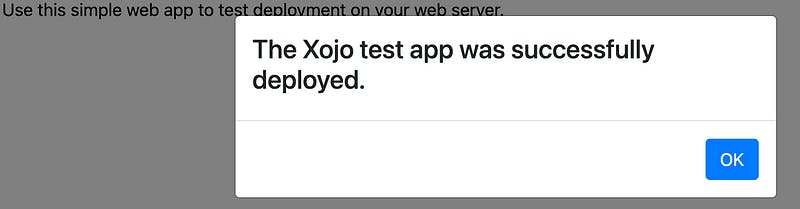
Now go to your browser and type in your domain name (without a port number!) and enjoy the most beautiful Xojo Web 2 Test App ever! :-)
You made it! Congratulations.
Automation
Unfortunately you won’t be happy for very long. Trust me! If you will reboot your server, close the running app, or the running app won’t run any longer … you will not be happy either.
The easiest way to ensure your app will always run is to install it as a service. Now services sound very complicated if you think of Windows Services for instance, but actually, on Linux, they are extremely straightforward. Stay with me for the last mile on our long walk.
Let’s create the following service:
sudo vi /etc/systemd/system/XojoTestApp.service
Enter the following and save this file
[Service] Type=simple Restart=always RestartSec=3 User=xojo ExecStart=/var/www/html/xojo/XojoTest --secureport=443 [Install] WantedBy=multi-user.target
Okay, that’s it, you just create a service! Now we need to enable it. This is done by the following command:
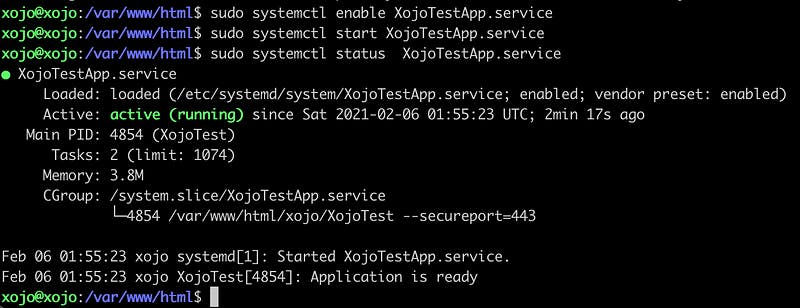
sudo systemctl enable XojoTestApp.service sudo systemctl start XojoTestApp.service sudo systemctl status XojoTestApp.service
You should now see something like:
If you go now to your browser, you will again see your app under your domain (in my case: https://testapp.xojodocs.com. Of course, I will now delete my subdomain, but yours should be up and running.
The service is working as such that in case of any failure of the app (aka a reboot) it will again start automatically (after 3 seconds).
Welcome to Xojo Web 2 App Creator World and I hope you will enjoy this tutorial.
Please don’t be shy to leave me a comment in case of any further questions.