


I want to quickly show how you can customize Xojo Web 2 Objects per WebPage, WebDialog etc. without changing your whole template.
The easy way
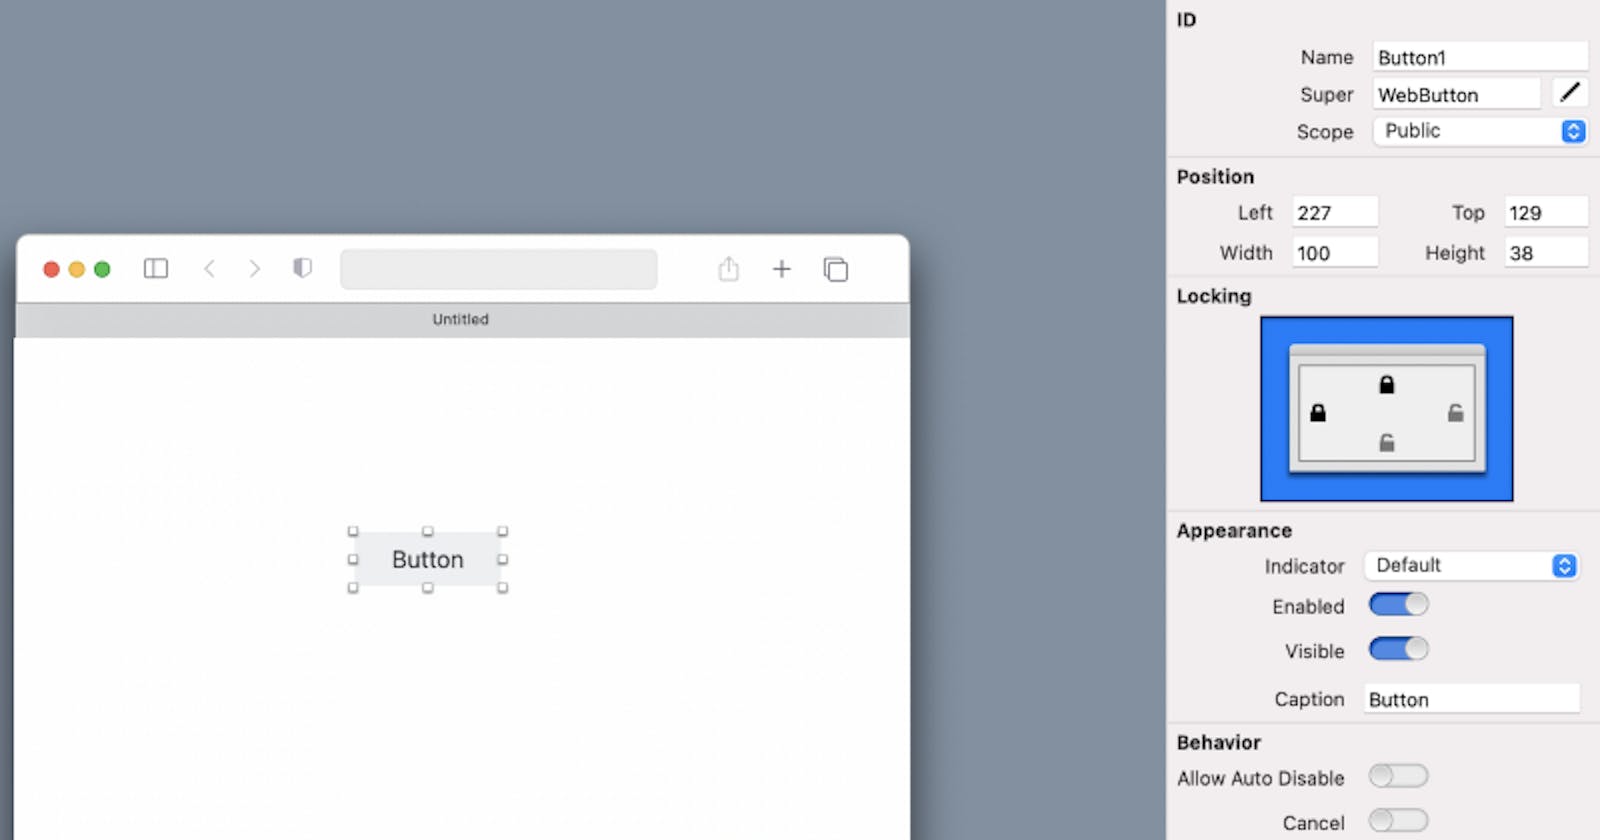
Let’s first have a look into what Xojo has to offer out of the box. Let’s create a Web App Project and add a WebButton to the Canvas. In the inspector we are seeing the available options:
Well, I agree that’s not much (yet) — I’m sure there is more to come. With the style editor (yet) missing, I understand the frustration of many when seeing that there are so few available options in the IDE.
But there is hope! You can apply some changes — per object — in your code already:
Customization via build-in parameters
In the IDE, add an “Opening” event to your object (so in our case above: to the button).

Now you can refer to your button via either “me.” (as we are in the opening event of the button itself) or the name of your button (here: “Button1”).
Type in me.style. and push the -key on your keyboard. You will now get a popup listing all the options you have for style:

As you can see we have a couple of “design options” in this list. As pictures are telling you more than words, let’s apply those to our button. This will result in a terrible-looking button, but that doesn’t matter, it is all about showing you the options you have “out-of-the-box” and it easy to do.
Plus, these options are added by Xojo, so they will stay in future and will unlikely break your code with a later release (Disclaimer: please never quote me on this in future — but it is very unlikely to break anything in future, I predict those elements will be the first to be added to the IDE, as it seems to be relatively straightforward doing so):
me.Style.BackgroundColor = &cffffff me.Style.Bold = true me.Style.BorderColor = &c0000ff me.Style.BorderThickness = 4 me.Style.Cursor = Webstyle.Cursors.Progress me.Style.FontName = "Verdana" me.Style.FontSize = 14 me.Style.ForegroundColor = &cff0000 me.Style.Italic = true me.Style.Opacity = 60 me.Style.Strikethrough = true me.Style.Underline = true
This will result in an looking button, but you’ll get the idea and you can see how easy it is to change many settings with just a very few lines of code:
As a careful reader, you have probably noticed that the “Strikethrough” change wasn’t applied. Not all properties can be changed for all objects (or have no effect). You have to try it on your own. Add for instance a WebLabel to your project and apply the Strikethrough code and you will get the following:
Okay, before we’ll all get eye cancer, let’s make it better looking with the following code:
// Code for a "closing"-button me.caption = "X" me.Style.BackgroundColor = &cffffff me.Style.Bold = true me.Style.BorderColor = &cff0000 me.Style.BorderThickness = 2 me.Style.Cursor = Webstyle.Cursors.Pointer me.Style.FontSize = 50 me.Style.ForegroundColor = &cff0000
et voilà:
Obviously, you would change the size of your button in the IDE to for instance 38x38 to make and adapt the font size, but I wanted to show you the possibilities and one caveat if you are doing it this way (via code only):
The “new” dimensions of your button (which are only known at run-time) are not reflected in the UI. Let’s build something around this button to demonstrate this a bit better:
Let’s build something (useless) like the following in the Xojo IDE:
This will compile into the following look of the app in the Web Browser:
As you can see from this example: your code changes are not reflected in the IDE. This is “normal” and nothing you can do about it, other than reflect the end result in your IDE design. You should be aware of this!
Customization solely via Code
The last option consists in “injecting” your own CSS statements in your Code via the style.value parameter:
Let's start from scratch with an “out-of-the-button”:
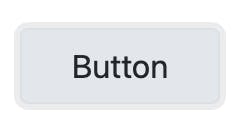
Let’s assume you want the text in this button to be left-aligned, like this:
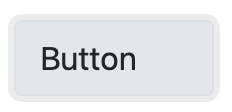
All you need to do is insert the following code into the “opening event” of your button:
me.style.value("text-align") = "left"
and you are done.
As you can see, you have many options to customize every element on your web pages and dialogues. But you can’t change “every bit” and your changes are not reflected 1:1 in the IDE.